Sunday, March 3, 2013

Lace Ruffle Skirt

Lately, I've seen a few ruffly skirts floating around on Pinterest & I've wanted to make one for myself for quite awhile. I bought some beautiful eyelet lace awhile back & was planning on using it to make an extender slip to wear under dresses & skirts that are just slightly too short. Because I've been working on other projects, I just never got around to using it. Then, a woman from church gave me a large tote filled with vintage lace, ribbon & other trim. I pulled out all the lace & knew that it would go perfectly with the eyelet lace I already had to make my own ruffly, lacy skirt. I had some leftover fabric from a white sheet that I used to make a ruffle shower curtain, & it was just the right size. First, here are some pictures of the finished product, and then I'll get into the details.
I love the antique lace! The eyelet lace that I bought is at the bottom, in the middle, and at the very top. Instead of gathering each of the strips of lace and fabric, I just created a few pleats as I pinned them to the base fabric. I didn't want it to be too poofy.
My husband was the photographer.
I love that it fits me perfectly!
My husband actually said, "Give me some sass!"
It makes me smile to see all that beautiful lace!

I also paired it up with a skirt over the top, to show how it can also be a pettiskirt. Now, if I have a dress or skirt that is just a little too short, I can wear it with my ruffle skirt & have some extra, lacy length!
Just admiring my calves!
You won't be seeing anything you aren't supposed to when I bend over!
Yup, I was falling over.
Ok, now on to some details. Using a white sheet, I cut out a rectangle that was 22 inches tall by 52 inches wide. I was very exact in my measurements. You know, I held the fabric around my waist, pulled it a ways to account for the gathering that would happen, and then cut it off. I actually measured it afterward. I used the existing hem for the bottom, which just made less work for me.
This shows the existing hem from the sheet. The first row of lace is sewn just above the hem.
I laid the rectangle on my cutting mat, & starting with the bottom ruffle, I started pinning the lace & fabric onto it. I didn't want each layer completely gathered, so I just created some pleats as I pinned.
One of the pleats. They were fairly small & spaced about 5 or 6 inches apart. I varied them on each layer, kind of like when you lay bricks.
For some of the lace layers, I paired them up with matching fabric, just so you wouldn't see the white base fabric beneath, and to give it a little more texture. I had some off-white muslin that I just tore into strips to put under the off-white lace. I used strips of the white sheet under the white lace. I didn't serge the edges, because I kind of liked the torn look. If you don't, you could certainly hem or serge the edge.

If the piece of lace wasn't quite long enough to go all the way across the skirt, I just overlapped it with another length of lace or fabric & kept going. It looks fine & gives the skirt a little more personality. Plus, I had some lace that I really wanted to use but didn't quite have enough to cover an entire row.
View of the back
After sewing on the last row of lace, I sewed the skirt into a tube by sewing the short edges together. I tried to match up each layer of lace as I was sewing. This will be the back of the skirt.
View of the waistband.


I used some 2 inch white elastic for the waistband. I tried it on around my waist, making sure it would fit snugly, then cut it & sewed it together with the edges overlapping. I just zigzag stitched over each raw edge.
I then sewed it to the top of the skirt, stretching the elastic to fit the width of the skirt. 

And there you have it! A beautiful, ruffly, lacy skirt that fits perfectly! I love it & have already received so many wonderful comments on it.

Sunday, February 10, 2013

Bean Bag

I created the font that I used to write the Beanbag title on the scrapbook page. You can download it for free {here}.

Friday, February 8, 2013

Lucky

I've been making shamrock themed items to sell in my shop in preparation for St. Patrick's Day! Here's a sample of what I have so far. More items to come in the near future!
Shamrock paper garland
Luck digital print

Thursday, January 31, 2013

Ready for Valentine's Day

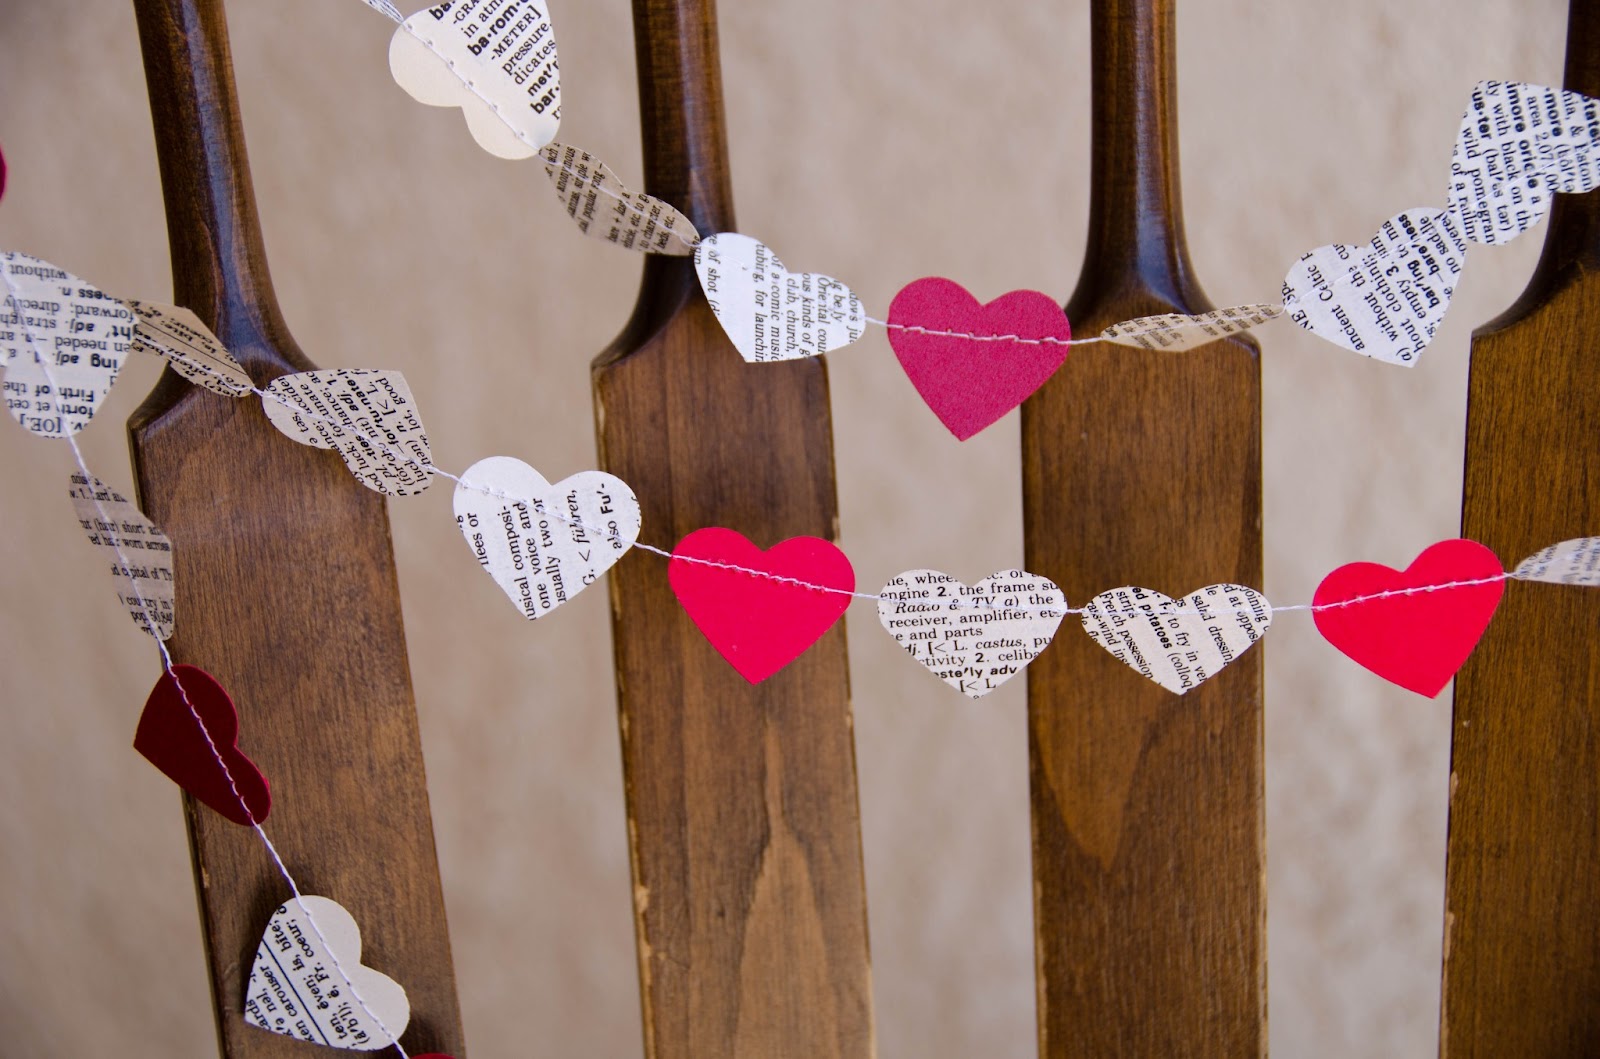
I've been getting my shop ready for Valentine's Day by making lots of different heart garlands! I love how simple these are, but they add just the perfect touch of whimsy to any space! I also love that the heart garlands can be used for other events, like baby showers, bridal showers, weddings, or just to brighten your home. I recently made some heart garland with the colors of the rainbow, paired with dictionary hearts, to decorate my girls' room. It looks fabulous & is so cheery hanging on the wall!
Love notes garland
Love on location garland
Pink hearts garland

Friday, January 25, 2013

Sharon's Dance Recital

Just working on some scrapbooking catch-up pages.

A Family Walk (& pictures of the girls)

Yesterday was the first warm not completely freezing day we've had in about a week. So, when Sharon asked to go on "a little walk" yesterday evening, we said ok. We put Savannah in the stroller & walked down to the end of our road, where there is a large vacant lot & some mountains small hills that are fun to climb. With the sun shining, it was just warm enough to be out with just a warm coat.
Me, Sharon & Savannah
 Sharon is our little adventurer, and loved running up the little bike jumps that kids have created out of the dirt. When she got the top of each one she would jump up as high as she could. She also ran every which way, going as fast as her feet could carry her. When we got to a little saddle in the hills, she immediately set off on her own up the large hill. She fell a few times, but was perfectly fine. We brought our cameras along & were able to capture a couple of good pictures of the girls in the fabulous lighting!
Sharon
 Savannah rode in the stroller up the hill & then I let her get out and walk around. While she is pretty much fearless at home, she was a little less certain on the rocky ground, and kept stumbling. She was a bit grouchy after falling down a few times, and was only too happy to get back in the stroller. She sure is growing quickly! She has 4 teeth, loves to try to jump, climbs on everything at home, loves to dance & sing & direct music by waving her arms. She is starting to throw food on the floor, mostly because she likes to watch Jack eat it, rather than because she doesn't like it.
Savannah
It sure was nice to get outside & spend some good family time. We're definitely going to be going on more walks in the near future!

Monday, January 21, 2013

Comic Book Bunting

A friend from church recently asked if I could do a custom order for a birthday party she has coming up. She wanted 5 yards of comic book bunting. She supplied the comic books & even had them cut into the triangles, and I made the bias tape & sewed them all together. Mingled with the pages from comic books were coordinating triangles of solid colored card stock. I think they turned out fabulously! Here are a couple of pictures! What do you think?
Comic book bunting
Perfect for a super hero birthday party, or even just to decorate a boy's room!

Tuesday, January 15, 2013

{Giveaway} Love Notes Garland from my Etsy shop

Hi everybody! It's time for my first giveaway! I'll be giving away 3 yards of my beautiful Love Notes garland! It's made with 1 inch hearts that are cut from sheet music out of a 1939 copy of Anthology of Modern French songs, and red card stock. Entering the giveaway is easy! Just follow the instructions in the Rafflecopter box at the bottom of this post. The giveaway starts January 15th (today) at 12:00 AM, and will end January 23rd at 12:00 AM. The winner will be announced on this post & notified by email. Please, feel free to share with your friends! Thanks for visiting!


a Rafflecopter giveaway


A Little Dirt Never Hurt


Winnie the Pooh Garland

A while ago at a thrift store, I came across an old, very well-loved copy of The House at Pooh Corner by A. A. Milne. It was missing most of the cover & some of the pages were torn, so I decided to rescue it and give it new life. I've been using it to make my paper garlands, and love the vintage feel it gives to them. Today I finished making some garland using the Winnie the Pooh pages & white paper.
Winnie the Pooh & White paper garland
I've listed the garland in my Etsy shop & can make more as necessary! I also have Winnie the Pooh garland with pink card stock circles.

Saturday, January 12, 2013

Etsy Success

I've been keeping pretty busy lately as I've had 5 different orders, 3 of them being custom orders, from my Etsy shop. I was telling my husband last night that it sure is nice to have a hobby that starts to pay for itself! I'm not really expecting to make tons of money with this business, though of course that would be nice, I really just enjoy getting to create something every day, and help to make other people's lives a little more crafty! I've been a little surprised that my best sellers so far have been my paper creations rather than some of my fabric items. So far, I've sold 131 yards of paper garland & just yesterday sold 12 yards of bunting. I had my first international sale, and have really enjoyed working on various custom orders. I love making the garlands with paper hearts, which is perfect for Valentine's Day coming up! This week I worked with a woman who asked me to make a heart garland made out of maps & I think it turned out beautifully. Here are some pictures of what I've been making lately. What's your favorite?
Pink hearts with dictionary paper
"Defining Love" - Red hearts with vintage dictionary paper hearts
"Love Notes" - Vintage sheet music with cream hearts
"Love on location" - 3D map hearts


Monday, January 7, 2013

Zoku Quick Pop Maker

For Christmas, my mother-in-law sent us some money to get a gift for the family. We debated about various games, and other ideas, but we finally settled on getting a Zoku quick pop maker. It came with the freezing base, the super tool for removing the pops, 4 sticks and 4 drip guards.
I saw these awhile ago, and have had it on my wish list since. I really loved the idea of being able to say, "Hey, lets make popscicles" and rather than waiting 2 or so hours to let them freeze, we could be eating them in about 10 minutes!
After we got it in the mail, I let it freeze over-night, and then made some pineapple pops around lunch time. I just put a can of crushed pineapple with the juice into the blender (obviously without the can), along with a little bit of milk to make it creamier, and just a touch of sugar. Blend. Insert sticks into the pop maker. Pour pineapple mixture into the Zoku, and made sure not to fill past the fill line. I just let it sit on the counter for about 10 minutes, and once they were firm enough, I screwed the super tool onto the sticks, and was able to pull the pops out with no problems!
Since then, we've also made pops with yogurt, mixed with a little milk to make it pour easier. Yesterday, I put some sliced bananas in Sharon's yogurt pop. This morning I made one just out of apple juice for my 1 year old, and she loved it! I just held the pop and let her bite little pieces off. I love the texture of the pops, they are so easy to eat & haven't been rock hard like some pops I remember making as a kid.
Next on my list of pops to make is some fudgecicles and pudding pops.
If you have a bigger family, they also have the Zoku Triple Quick Pop Maker, or if you just want to make one at a time there's the single pop maker. You can also buy extra sticks, a storage case to keep pops in the freezer, and other tools.
So, if you love homemade popcicles, check it! It's super fun!

FIY: I was not compensated in any way by Zoku for the opinions in this post. I just wanted to share my experience with a product that I love!

Friday, December 28, 2012

Crazy for Games

For a number of years, now, the favorite game in my family has definitely been The Settlers of Catan, along with the expansion games. The first expansion we bought was The Sea Farers of Catan. We played it a lot until the more recent expansions came out, but tend to play The Cities & Knights of Catan the most, now. If you've never played the basic version, you should, plain and simple. It's a strategy game, and since the board is different every time, there's tons of replay value. Before you know it you'll be a brick trading, road building, 2 for 1 trading machine! As avid Settlers fans, we've done a few things over the years to help streamline & enhance our playing experience. A few years ago, my husband and I made a playing board to hold the hex pieces together, so they don't move around during play, and so that you can move the board from off the kitchen table if it's time for dinner. You can kind of see it in the bottom picture. We made it out of two pieces of hardboard. The bottom piece was left in a large square, and the top piece has a hole cut in the center in the shape and size of the Catan game. Then we glued them together, and it created a fabulous board!
The next enhancement we made was for our own Cities & Knights game. We like to play with more than just the normal 4 people, sometimes, so I decided to attempt to make our own 5-6 player expansion. We would actually need the expansions for both regular settlers & for Cities & Knights, so I checked what pieces we would need and set to work. I had almost the right amount of hexes from our Seafarers expansion, but needed 3 more, so I used some extra water hexes as the base, copied the front of the hexes needed, printed them off & used spray adhesive to attach them to the back of the water hexes. My husband made three sets of the wooden playing pieces using his wood working tools, and then I painted them black, pink or yellow. I also made knight stickers to go on the knight circles, and they turned out fabulously!
Our most recent goal was to create a card holder to house all the cards needed for a game of Cities & Knights. My technically minded dad, and my creative husband (along with a little input from their wives to help with design) figured out a decent design, and built a prototype for the holder. It turned out great! You can see it in the top right photo. The card holder is angled upward toward the back, so the cards overlap a little on each level. It holds all the cards, including the victory point cards you win when you conquer the barbarians. We used it during the next game we played, and it was so nice to have all the cards organized, without needing to straighten the piles during the game. It was easy to see all the cards, and I'm sure we'll get plenty of use from the organizer. Another nice thing about the holder design, it fits perfectly into the Cities & Knights box!
So, now that I've revealed how crazy we are about board games in general & Settlers of Catan particularly, what are some games that your family is nuts over? Have you made anything to streamline your game play? Or are we just a weird family? =) Have a happy new year!

Friday, December 21, 2012

Pressure Canner

I sure do love to use my pressure canner! I use the Presto 23-quart pressure canner and I bet it would make a great gift for the canning enthusiast in your family!